A new sink might not seem like a big deal until you realize it’s tied into one of the most temperamental systems in your home — the plumbing.
When it’s done right, you get years of clean function and a sleek finish. When it’s done wrong? You get leaks, water damage, mold, and a repair bill that stings.
This post breaks down what really goes into a professional sink installation — from planning to sealing — and why precision matters at every step.
If you’d rather skip the mess, I handle installs like this all the time. You can book a professional sink installation (and more) here:
Dee Bee Freelancing Services
1. Why a Proper Sink Installation Matters
A sink isn’t just a decorative basin — it’s a gateway to your home’s plumbing network. Even the smallest mistake in alignment or sealing can create hidden damage that spreads fast.
A proper install prevents:
-
Leaks that soak your cabinetry
-
Mold growth under your counters
-
Loose fittings that rattle or warp with time
-
Unnecessary strain on water lines or drain pipes
It’s the difference between a quick upgrade and a long-term headache. That’s why professional installs focus not just on looks — but longevity.
2. The Planning Phase (a.k.a. The Part Everyone Skips)
Most problems start before the tools even come out.
Picking a sink is easy — picking the right sink takes planning.
Here’s what I evaluate before installation:
-
Size compatibility: Does the new sink fit the existing countertop cutout?
-
Mount type: Drop-in, undermount, vessel, or pedestal — each needs different tools and supports.
-
Faucet configuration: 1-hole, 3-hole, centerset, or widespread — not every sink supports all options.
-
Plumbing alignment: Will the new drain line up with your current P-trap and water supply?
When I take on an install, I measure everything twice and confirm the plumbing layout before touching the first bolt. That prep alone can save you from hours of frustration (and a few unplanned trips to the hardware store).
3. The Tools and Materials You Actually Need
Installing a sink properly isn’t a one-wrench job.
Here’s what a professional brings to the table:
Tools:
-
Adjustable and basin wrenches
-
Channel-lock pliers
-
Pipe cutter or hacksaw
-
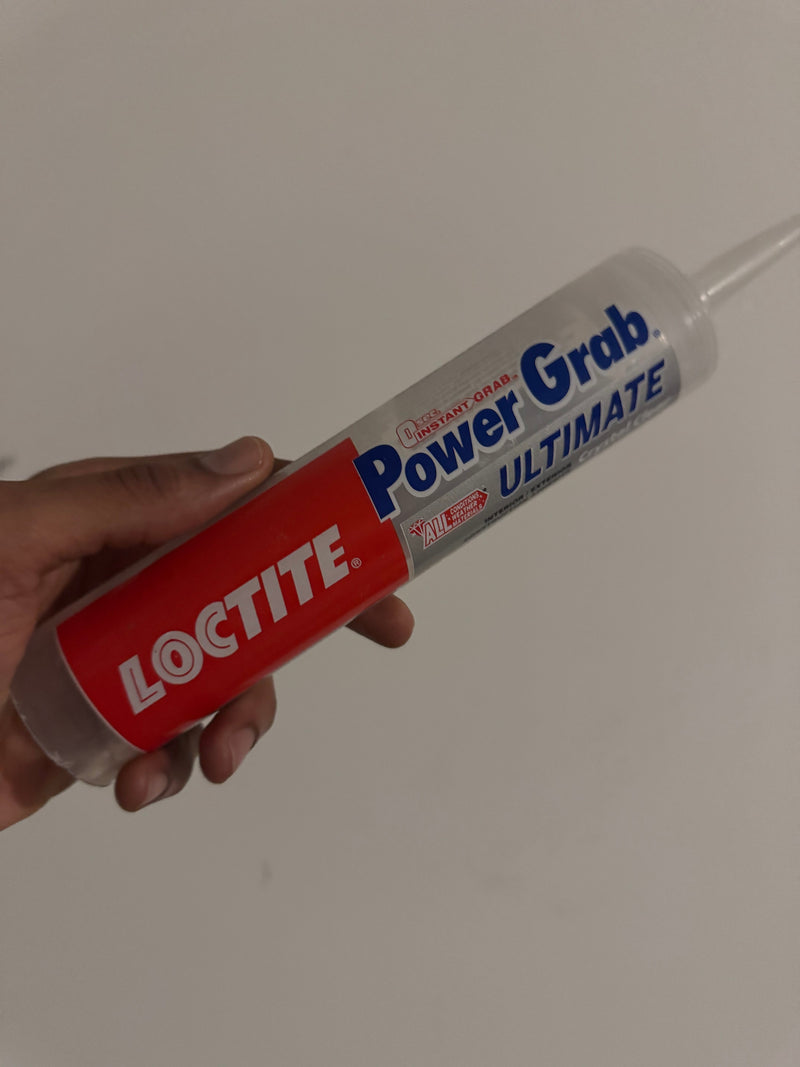
Caulk gun and silicone sealant
-
Level, tape measure, and utility knife
-
Drop cloths, rags, and towels
Materials:
-
Sink and faucet assembly
-
Gaskets, washers, mounting clips
-
P-trap and drain pipe
-
Supply lines (hot & cold)
-
Teflon tape for sealing threads
Having these ready means the job runs smoothly — no mid-project runs to grab missing parts. That efficiency is part of what you’re paying for when you hire a professional.
4. Removing the Old Sink Safely
This is the part most people underestimate. Removing a sink isn’t just a matter of “pull and pray.”
Before any disassembly:
-
Shut off the water supply at the shutoff valves or main line.
-
Open the faucet to release leftover pressure.
-
Place a bucket under the P-trap to catch water.
-
Disconnect the water lines and trap carefully.
-
Cut away the old sealant around the sink rim.
-
Lift the sink out — or call for help if it’s cast iron or heavy porcelain.
Once the old sink’s out, I clean the countertop thoroughly. Any old caulk, grime, or debris will stop the new seal from bonding right.
A clean foundation means a watertight finish.
5. Prepping and Installing the Faucet & Drain
Here’s where precision starts to matter.
Before the sink even gets mounted, the faucet and drain should be installed. Why? Because once the sink’s in place, space becomes tight and maneuvering wrenches underneath gets tricky.
A professional makes sure:
-
The faucet gaskets are seated perfectly (no leaks around the handles).
-
The drain assembly is sealed with plumber’s putty or silicone where needed.
-
The tailpiece lines up with the plumbing before locking it in.
A few millimeters off here can cause a slow leak you won’t see for weeks. That’s why it’s worth doing right the first time.
6. Mounting the New Sink
With the prep complete, it’s time for the main event.
For drop-in sinks, I run a clean, even bead of silicone or putty along the rim, lower the sink carefully, and press evenly for a tight seal.
For undermount sinks, support brackets and leveling are crucial — gravity’s not on your side here. I apply high-grade epoxy and clips for a hold that doesn’t budge over time.
Then I check the sink from every angle. Even a slight tilt can affect drainage or cause uneven wear on the caulk line.
When that part’s right, everything else falls into place.
7. Connecting the Plumbing
Once the sink is secured, the plumbing reconnect begins.
The water supply lines, drain, and P-trap all have to align perfectly — and every connection must be tight enough to seal but not so tight it cracks the fittings.
Here’s what I check:
-
Compression fittings snug and leak-free
-
Proper Teflon tape coverage on threaded joints
-
Drain pipes angled for smooth flow (no standing water)
-
P-trap alignment to prevent odor or backflow
This step is where most DIY jobs fall apart — literally. I’ve seen brand-new sinks pulled apart because the P-trap was an inch off-center. Precision saves plumbing.
8. Leak Testing and Fine-Tuning
Once everything’s connected, it’s time for the truth test.
I slowly open the shutoff valves and run both hot and cold water for several minutes. While that’s happening, I inspect every connection point for even the smallest drip.
If there’s moisture anywhere, I fix it immediately — tightening, resealing, or repositioning until it’s 100% dry.
Then, I check drainage by running a full sink of water and watching the flow. It should empty smoothly with no gurgles or bubbling.
Leak-free, smooth-flowing water — that’s the real victory moment.
9. Sealing, Finishing, and Cleanup
This final step separates pros from “weekend warriors.”
Once testing’s done, I apply a final silicone bead along the sink edges to block out moisture. Then I smooth it for a clean, consistent finish.
I also make sure the faucet base is sealed, the countertop is wiped spotless, and all plumbing lines are properly secured under the cabinet.
That’s the kind of detail work that keeps things looking and working great years down the road.
When I’m finished, it’s not just a new sink — it’s a complete, clean, leak-proof upgrade.
12. How to Know When It’s Time for a New Sink
Sometimes a full remodel isn’t needed — just a smart replacement.
If you’ve got any of these signs, it’s probably time to install a new one:
-
Rust or corrosion around the drain or faucet holes
-
Hairline cracks in porcelain or composite materials
-
Constant leaks despite repairs
-
Mold or soft wood under the cabinet
-
Outdated style or finish that clashes with your space
Upgrading your sink adds value to your home and instantly refreshes the look of a kitchen or bathroom — especially when paired with a modern faucet and clean new seal.
14. Final Thoughts
Installing a sink seems simple — until you’re half under the counter, juggling wrenches, and wondering why nothing lines up.
That’s where a professional touch makes all the difference.
Every job I take on gets handled with precision, clean workmanship, and the kind of care that comes from years of experience fixing things people tried to “just do real quick.”
So whether it’s a kitchen upgrade, bathroom refresh, or complete replacement, you can count on me to handle the job efficiently, cleanly, and with pride.
Skip the guesswork — book your sink installation here:
👉 https://deebeefreelancing.com/pages/services


!["Afrocentric digital artwork featuring [subject], showcasing rich melanin tones, cultural symbolism, and bold colors. Perfect for modern home decor, Black heritage appreciation, and artistic expression. High-quality print available in multiple sizes."](http://deebeefreelancing.com/cdn/shop/articles/Untitled_design_3.png?v=1740011344&width=800)
