If you live in Augusta or anywhere in the CSRA, you know how quickly storms can tear into a house. One strong gust and suddenly your shutters are dangling, cracked, or missing completely. Shutters add style to your home, but they also protect your windows — so leaving them off isn’t a good option.
Here’s a step-by-step look at how to reattach storm-damaged shutters if you want to DIY it… and why many homeowners skip the headache and just call me to handle it for $25 per shutter.
Step 1: Inspect the Damage
Not all shutter problems are the same:
-
Loose shutter, hardware intact – Likely just needs re-securing.
-
Shutter intact, hardware broken – You’ll need new fasteners or anchors.
-
Shutter cracked, warped, or missing – Replacement is the only option.
🐝 Check the siding or brick behind the shutter. If fasteners ripped out, the mounting holes may need patching before reinstalling.
Step 2: Gather What You’ll Need
If you’re tackling this yourself, grab:
-
Drill (standard bit for siding, masonry bit for brick/stucco)
-
New shutter fasteners or screws
-
Level for alignment
-
Tape measure
-
Ladder & safety gear (especially second-story jobs)
-
Replacement shutter (if necessary)
-
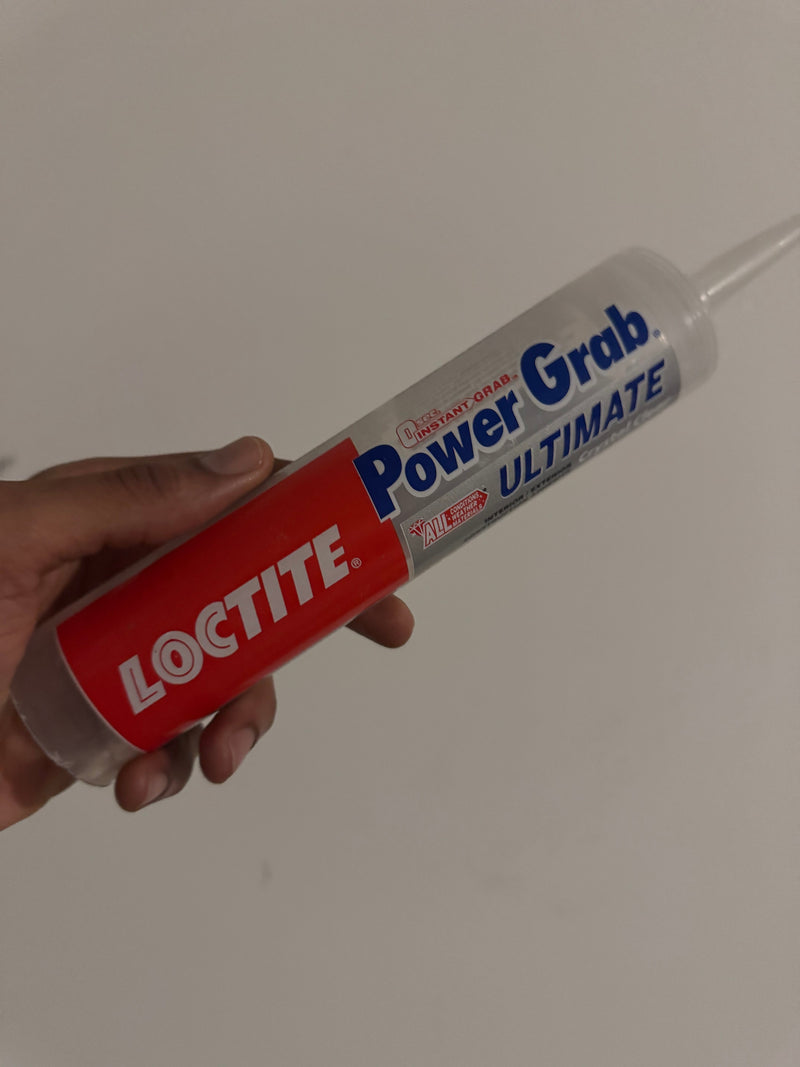
Caulk or sealant for old holes
🐝 Don’t try to reuse snapped fasteners. Once they’ve broken, they won’t hold securely.
Step 3: Remove the Old Hardware
-
Vinyl siding – Pull broken spikes out with pliers, or drill them out if stuck.
-
Brick/masonry – Drill or chisel out old anchors, then patch holes with mortar or sealant.
🐝 Always fill unused holes — open gaps invite water, rot, and insect damage.
Step 4: Reattach the Shutter
-
Hold the shutter in place and make sure it’s straight.
-
Use a level to check alignment.
-
Drill pilot holes at a slight downward angle to shed water.
-
Insert shutter fasteners or anchors and secure them snugly.
-
Double-check stability with a light shake.
🐝 Don’t overtighten. Shutters expand and contract in Georgia heat — too tight, and they’ll crack.
Step 5: Replace When Needed
If the shutter is beyond saving:
-
Replace both shutters on the same window for a consistent look.
-
Pre-paint or seal wood shutters before installing to handle Augusta’s humidity.
-
Consider upgrading to storm-rated shutters if this keeps happening.
DIY or Call Me?
Look, you can do this yourself — but here’s the reality:
-
You’ll need tools, hardware, and possibly a ladder.
-
Second-story work isn’t fun (or safe) without experience.
-
A “simple reattachment” can easily turn into a half-day project if holes are stripped or siding is damaged.
That’s why many homeowners just call me. I offer shutter reinstallation starting at $25 per shutter. Need new hardware? Second story? No problem. I handle the ladders, tools, and cleanup so you don’t have to.
🐝 Check out my full list of services under Dee Bee Freelancing Services.
Want to Be the Handyman Property Managers Call?
If you’re not here because your own shutters blew off — maybe you’re here because you want to start landing jobs like this yourself. That’s why I created Dee Bee’s Handyman Guide.
This guide isn’t about teaching you how to hold a drill — it’s about showing you how to connect with property managers in Augusta and the CSRA, how to price your work, and how to turn storm damage calls into steady, repeat business.
🐝 Learn more inside Dee Bee’s Handyman Guide.
Final Word
Storms happen. Shutters come loose. And whether you:
-
Want to reattach them yourself using the steps above, or
-
Would rather skip the hassle and have me handle it for $25 each…
…I’ve got you covered. And if you’re thinking bigger — maybe starting your own handyman hustle — my guide can show you how to get consistent property manager work right here in the CSRA.


!["Afrocentric digital artwork featuring [subject], showcasing rich melanin tones, cultural symbolism, and bold colors. Perfect for modern home decor, Black heritage appreciation, and artistic expression. High-quality print available in multiple sizes."](http://deebeefreelancing.com/cdn/shop/articles/Untitled_design_3.png?v=1740011344&width=800)
